

Showing posts with label fabric. Show all posts
Showing posts with label fabric. Show all posts
Tuesday, October 1, 2013
Trash to Treasure: Vintage Vanity Chair
My mom picked this chair up out of her neighbor's trash pile, and saved it for me. I was so excited. It was in such good condition, with exception of the worn out fabric on the seat. I immediately unscrewed the seat and ripped off the fabric and disposed of it, hence no photo lol. I also threw away the foam, because it was really worn out too. I went to Hobby Lobby and picked out some 2" foam from the fabric department because I wanted the chair to be super comfy. I had a lot of trouble finding a nice fabric for the chair, becuase everything vintage looked too vintage and everything modern looked too modern. I tried tons of fabrics and finally settled on this pillow sham I had. It just looked perfect! I cut it to fit and stapled it to the underside, and reattached the seat with screws.


Wednesday, September 25, 2013
Embroidery Hoop Clock DIY

I was so inspired by clock ideas while Pinteresting last night, I just had to make one of my own. I had several embroidery hoops laying around, so I decided on my biggest (go big or go home, right?) I had just bought this Paris fabric from Hobby Lobby and it was just the look I wanted to go for. I had a piece of scrap lace also I liked paired with it. I spread out the fabric and lace the way I wanted it on top of the inner piece of the hoop, and placed the outer hoop around it, pulling the fabric taught. I snipped away the extra fabric and hot glued it to the inside of the hoop. My stepmother had just given me these beads and jewelry parts and I just loved the way the silver looked against the colors. Really vintage-y. I sewed them on equal distance apart around in a random fashion. I marked the center and made a small hole with a knitting needle. I got a clock kit from Hobby Lobby and followed the instructions for installing it. I put an old CD between the clock motor and the fabric for extra stability. Last, I tied a piece of string from the hanger to the tightening knob so it would stay up straight and not swing around.
I think it looks quite handsome, don't you?
Friday, September 20, 2013
Hula Hoop Rug!

To make T-Shirt Yarn:
This is the shirt I started out with.

First, cut the hem off the bottom.

Next, cut the shirt into strips from side to side, but don't go all the way across, as shown.

Put your arm through the shirt, with the intact part laying against your arm, then cut diagonally to the first cut on the top left. I know, it is sort of confusing. Just watch the video if you have questions.

Continue cutting diagonally and you will have one long strip that looks like this.

Stretch the strips. It will fold in on itself to make yarn!

Wind the yarn into a ball
To Make the Weft:
Cut 11 strips from a shirt and stretch them around the hoop, equal distance apart.

Start by tying one piece of yarn to one spoke of the weft, then continue around in an over-under pattern. When one piece runs out, simply tie on another and keep going. You could be creative and incorporate ribbon, yarn, or fabric.
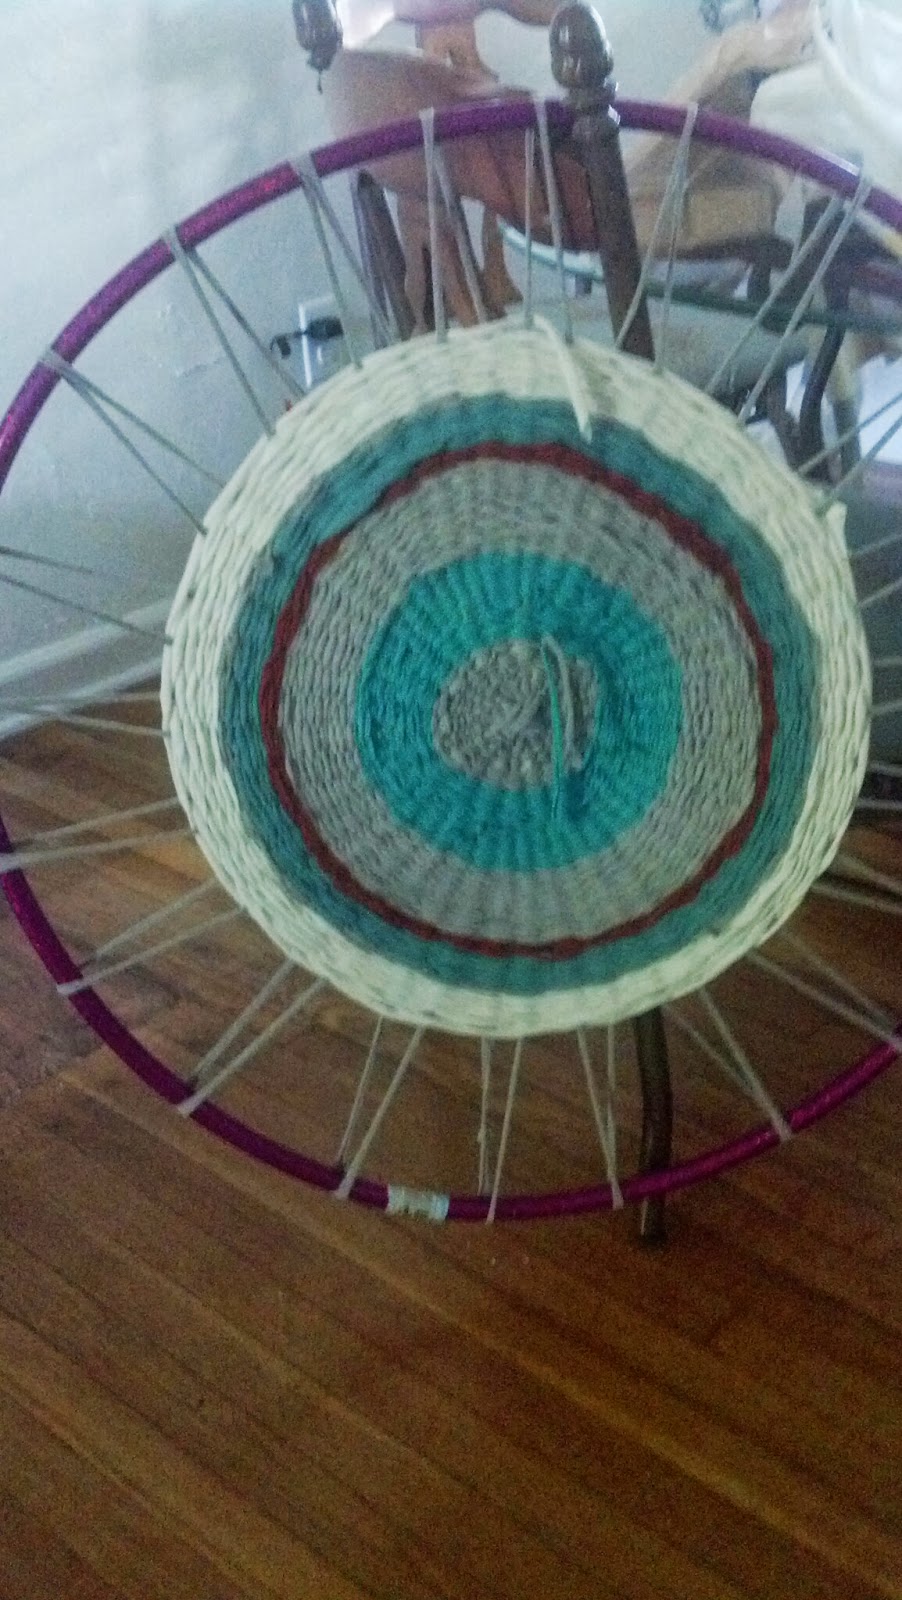
You can see here how I tied the ends of the peices together in one section. I simply pushed them through to the back to hide them. Once got done, I cut the weft, one spoke at a time and tied them together. Unfortunately, my rug curled a little bit (It'll be our little secret), and it ended up looking like this:

But hey, it was OK! I simply flipped it over and let the edges curl, creating a nice edge. A happy accident!
I put it under my desk area and it is SO soft and squishy. It feels really nice against my toes, and it totally goes with all my colors!
Wednesday, September 11, 2013
DIY Fabric Yarn Basket
I was inspired by several posts on Pinterest about crocheting or braiding baskets out of t shirt material. I had this "yarn" in my stash and decided it was the perfect thing to experiment with.


Subscribe to:
Posts (Atom)